How to manage (tricky) issue escalation in Trello
Improve your customer support by optimizing your workflow to ensure quick, collaborative issue resolution.
A big part of offering great customer service is knowing how to deal with tricky requests or complaints calmly, quickly and effectively. In this article, we take a closer look at how to manage issue escalation, so that your team can deal with pressing or complex issues as they arise.
What is issue escalation?
Issue escalation is the process of passing a customer request to be handled by a different team member or department. Usually, issue escalation involves one of two things:
Collaborating with another team member. For example, if a customer service agent doesn’t have the knowledge or information to handle a request, they may need input from someone else in their team to resolve a ticket.
Redirecting an issue to another team entirely. For example, if a client raises a software bug with customer support, the ticket will need to be passed to and handled by the development team.
Whatever the reason you need to escalate an issue, it’s best practice to have a solid workflow and set of guidelines in place for how your team handles the escalation process.
Choosing the right tools
If you’re looking for tools to set up and manage your team’s escalation process, it’s important to select a tool that allows for collaboration as well as the handoff of issues to other teams. Keep in mind that you’ll also want to maintain visibility after handover has happened, so that you’re constantly in the loop.
There are many help desk platforms out there designed to help your team manage tickets and respond to issues. But more bells and whistles don’t always mean better functionality!
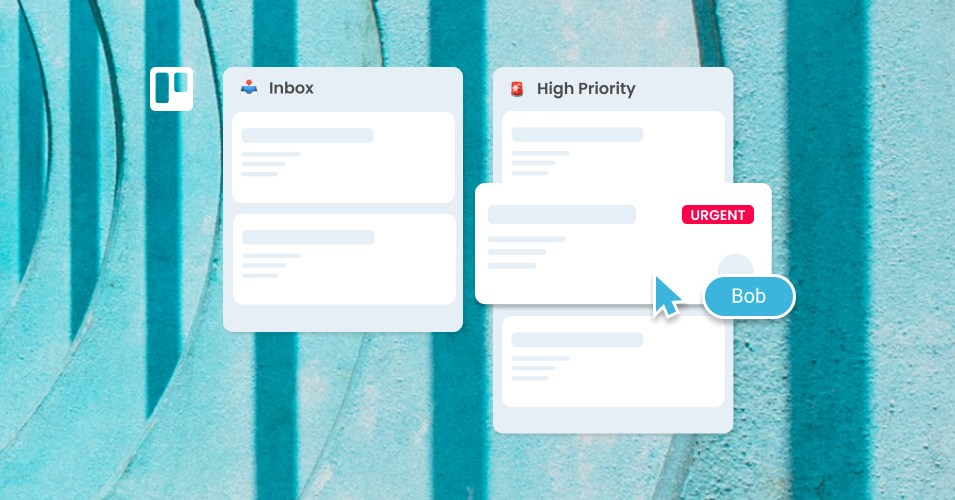
Trello’s simple but powerful system of cards in lists allows your team to take advantage of Kanban – a useful, visual method for streamlining your workflow and setting up distinct steps for your escalation process.

An example of a Trello workflow – it’s a bit like a dynamic cork board with sticky notes
💡 Learn more about how to manage your business workflow in Trello with our step-by-step guide to understanding, setting up, and using Kanban workflows for your tasks and emails.
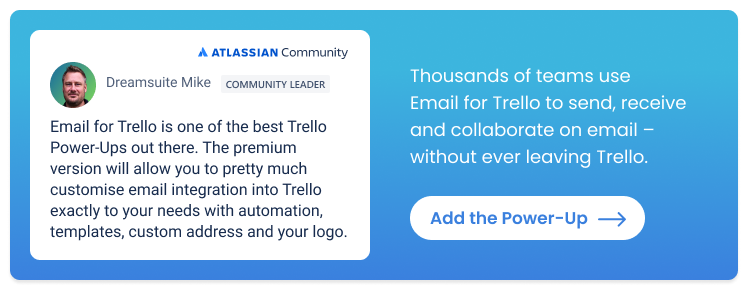
Email for Trello is an additional Power-Up that helps you go one step further by bringing your shared email inbox into the Trello interface. Dealing with tasks and emails side by side reduces friction by minimising context-switching and allows your team to focus on the job at hand – resolving issues!
How to manage issue escalation in Trello
Agree on standards
It’s helpful to set out the level of service that your customers can expect, along with response targets that your team should aim for.
For example, a customer support team might note down the following to guide their levels of service provision:
Response time. A goal for their support agents. For example, all email requests must receive a reply within 24 hours of receipt. (It’s also worth noting if there is a different standard during certain hours, days of the week, or over holiday periods.)
Types of issues. An outline of possible client queries and how to resolve them. For example, guidelines for dealing with different types of tickets from product queries or billing issues, to service quality or software bugs.
Points of contact. Should the team need further clarity, a list of responsible team members based on their expertise or seniority. For example, who to contact in the event of a critical product breakdown (expertise) or who handles priority clients (seniority). (Again, take note if these contacts are different after hours or during holidays.)
Having an overarching plan helps your team to know when they’re succeeding – or when to recalibrate if they find themselves off-course.
Example escalation workflow
Let’s take a closer look at how to use Trello and the Email for Trello Power-Up to manage and escalate issues as they arise.
1. Ensure a good level of service
Great customer service starts with making sure that requests are attended to in good time. With Email for Trello, there are a few ways to do this:
Auto-replies. An auto-reply sends out a standard response to any new email conversation to reassure the customer that their ticket has been received and will be promptly attended to. Learn more about how to set up an auto-reply for your Trello emails.
Automation. Trello automation is a useful way to help keep your team on target. For example, if your team’s target is to respond to all support emails within a day, you can automatically set a due date when a card is added to a list, so that nothing slips through the cracks. If a card goes overdue, you can even automatically post a comment mentioning the team lead to chase it up.
Additional email notifications. When you’re sending and receiving messages in Trello, your emails look a little different. But that also means you get more flexibility around the email notifications you receive in Trello! Learn how to add extra reply notifications in Trello to make sure agents see and respond to emails on time.
💡 TIP Email for Trello's contact management notes are a good place to make your team aware of any SLAs associated with certain individuals or companies, so that everyone gets the level of service they require.
2. Make the most of Kanban
The Kanban system gives everyone in your team a visual overview of work in progress as tickets move from left to right through your workflow. With clear steps to follow, Kanban reduces mess and stress – making it much easier to share the workload, save team time and increase productivity when it comes to dealing with email.
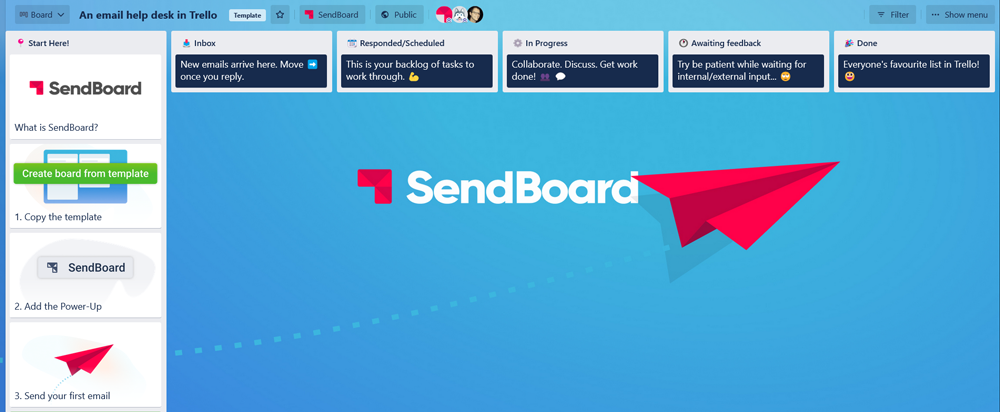
An example email workflow in Trello. Copy our Trello template to get started!
💡 TIP Learn more about how to apply Kanban to your shared inbox so that your team can build a robust process around dealing with email.
With an agreed level of service and a clear workflow in place, your team will be well-equipped to resolve most requests that come their way.
3. Triage tasks
Of course, there will invariably be a few tricky issues that your support team cannot solve in the course of “business as usual”. In these instances, triaging your tasks adds an extra layer of functionality on top of the power of Kanban and helps your team to escalate issues effectively.
Triage divides your tasks by priority so that your team can easily see any blockages at a glance, and dive in to help where needed:
Level 1 tasks are issues that can be resolved with existing tools and documentation.
Level 2 tasks are issues for which an agent might need help, but team collaboration can still resolve the issue.
Level 3 tasks are issues that need to be referred to another department for resolution.
As you can see, Level 2 and Level 3 represent the different kinds of escalation we outlined at the beginning of the article, so triage can help your team know when to collaborate to find a resolution, or when an issue needs to be referred to another department.
Read more about how to set up a triage board in Trello to prioritize your tasks and manage issue escalation.
Issue escalation in Trello
Effective issue escalation is essential for exceptional customer service! By establishing clear standards, using a Kanban workflow, and implementing task triage in Trello, your team will be able to navigate tricky issue escalation – and resolution – calmly and effectively.