How to build a Trello help desk from scratch (step-by-step)
Build a working Trello help desk in less than a week: from board layout, email setup, and saved replies, to automation.
Setting up a help desk doesn't have to mean adopting a new platform or paying for software your team will never fully use. If your team already lives in Trello, you've got most of what you need. The rest is structure, a connected email address, and a handful of automations that will make collaboration and hand-off between teams easy to manage.
In this article, we walk through the full setup, end to end:
Designing your board layout
Connecting your support email address
Building Saved Replies and an auto-reply
Adding automation with Butler
A few advanced touches once the basics are working
Design your board layout first
Before connecting any email, decide what your help desk should look like. The list structure is the backbone of the workflow, so it's worth getting right early.
A simple, reliable structure:
Inbox: every new email lands here
In progress: your team is actively working on it
Waiting on customer: you've replied, and the ball is in their court
Resolved: done (and hopefully with a happy customer!)
That's enough for most teams. Don't add lists for things you might do one day, you can always add a "Bugs" or "Escalated" list later if patterns emerge.
Add Custom Fields for any data you'll use for filtering tickets. Common ones for a help desk: priority (High / Medium / Low), category (Billing / Technical / General), and a field to save the SendBoard reference number for the ticket.
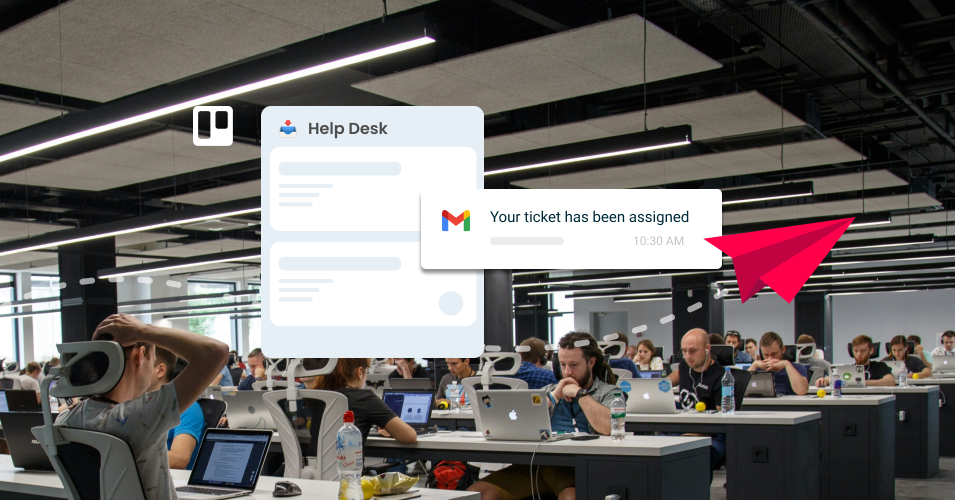
Install Email for Trello and connect your inbox
Add the Email for Trello Power-Up to your board. Once it's enabled, you'll get a unique board address that looks something like inbox@yourname.sendboard.com. Any email sent to that address arrives as a card on your board, in whichever list you nominate as the inbox.
For most teams, the next step is to route your existing support address (help@yourdomain.com, support@yourdomain.com) to the board.
There are two pieces:
A forwarding rule in your email provider that sends incoming mail to your board address
A custom send domain set up in Email for Trello, so replies go out from your own address rather than the SendBoard one
💡 TIP We have a full setup walkthrough: Get set up with Email for Trello.
Test it by sending an email from a personal address to your support address. Within a few seconds, a new card should appear in your inbox list with the email body as a comment. Reply from the card and check it lands in the original inbox correctly, and that's your help desk live!
Build a starter set of Saved Replies
Saved Replies are template emails you store once and reuse forever. They're the single best way to lower response time and increase consistency on a small support team. To begin with, start by templating the five or six responses your team sends on a daily or weekly basis.
Good starting templates for a new help desk:
Acknowledgement: confirms you've received the email and sets expectations
Asking for more info: when a ticket arrives without enough detail to help
Password reset / common how-to: this helps manage your top FAQ
Resolved: sent when you close a ticket
Escalation: when something needs to go to a developer or another team
Use variables to keep replies personal. {%contactFirstname%} pulls in the customer's first name, {%senderFirstname%} is the team member sending the reply, and {%referenceNumber%} gives every ticket a trackable ID.
A simple acknowledgement might read:
Hi {%contactFirstname || 'there'%},
Thanks for getting in touch. We've got your message and someone from the team will be back to you within one working day. For your reference, this ticket is #{%referenceNumber%}.
{%senderFirstname%}
The || 'there' fallback covers cases where the contact has no first name on file, so you don't end up with "Hi ,". The full Saved Replies guide covers keywords too, which we'll come back to.
Set up an auto-reply for new emails
The auto-reply is the only message your customer is guaranteed to see immediately. It’s best practice to use it to do three things:
Confirm receipt
Set a response-time expectation
Give them their ticket reference number in case they need to follow up
Open Email for Trello settings, go to the Templates tab, tick the auto-reply box, and write your message. Variables work here too, so you can include {%referenceNumber%} to give every customer a ticket ID. Note that signatures aren't appended to auto-replies automatically, so include any sign-off text directly in the template.
Add Butler automations to take work off your plate
This is where a Trello help desk can be a better fit for your team than a basic shared inbox. Butler is Trello's built-in automation engine, and Email for Trello hooks into it through Trello comments. Anything you can trigger in Butler, you can use to send an email.
A few rules worth setting up on day one:
Round-robin ticket assignment. Create a "line-up" card listing your support team members. Then add a rule: when a card is added to "Inbox", add a member in turn from the line-up card. New tickets get assigned automatically.
Send a Saved Reply when a card moves to Resolved. Rule: when a card is moved to list "Resolved", post comment @reply ##resolved. The @reply keyword sends an email to the contact on the card, and ##resolved pulls in your Saved Reply.
Flag stale tickets. Rule: when a card has been in "Waiting on customer" for 5 days, add the label "Needs follow-up". Now your team can filter for follow-ups every Monday.
The pattern is always the same: Butler trigger, then a comment that starts with @reply or @email. We covered this in more depth in our guide to using the Trello comment API for email automation.
💡 TIP If you want a ready-made set of automation rules to copy, our post on 5 automations every support team should set up walks through them step by step.
Once it's working, layer in the extras
We’d recommend getting the basics running for a week or two before adding more, but once your team is comfortable, here are the next improvements worth making:
Merge Card for duplicates. When a customer emails twice about the same issue, merge the cards so the conversation lives in one place.
Contact organizations. Group contacts by company so you can see every conversation with that company in one view. Useful when you support businesses rather than individuals.
Pattern-matching auto-replies. Use Butler regex to send specific Saved Replies based on email content. For example, anything containing "forgot my password" gets a password-reset reply automatically.
Outbound BCC archive. On the Pro plan, BCC every outgoing email to an archive inbox so you've got a record outside Trello.
You don't need any of this to run a functioning help desk in Trello. But each one removes a small bit of friction once you're past the setup stage.